MacOS lockscreen
MacOS Lockscreen
Project maintained by tmcinerney Hosted on GitHub Pages — Theme by mattgraham
Lockscreen
By following these steps, you can setup a MacOS lockscreen, that uses a blurred screenshot of your active desktop.

Instructions
-
Install the
imagemagicklibrary, which handles the screenshot bluring:brew install imagemagick - Download the
lockfile. In this case it is saved to$HOME/.dotfiles/bin/lock -
Ensure
lockhas execute permissions by running:chmod +x $HOME/.dotfiles/bin/lock -
Create a directory to store screenshots:
mkdir -p $HOME/Pictures/Lockscreen -
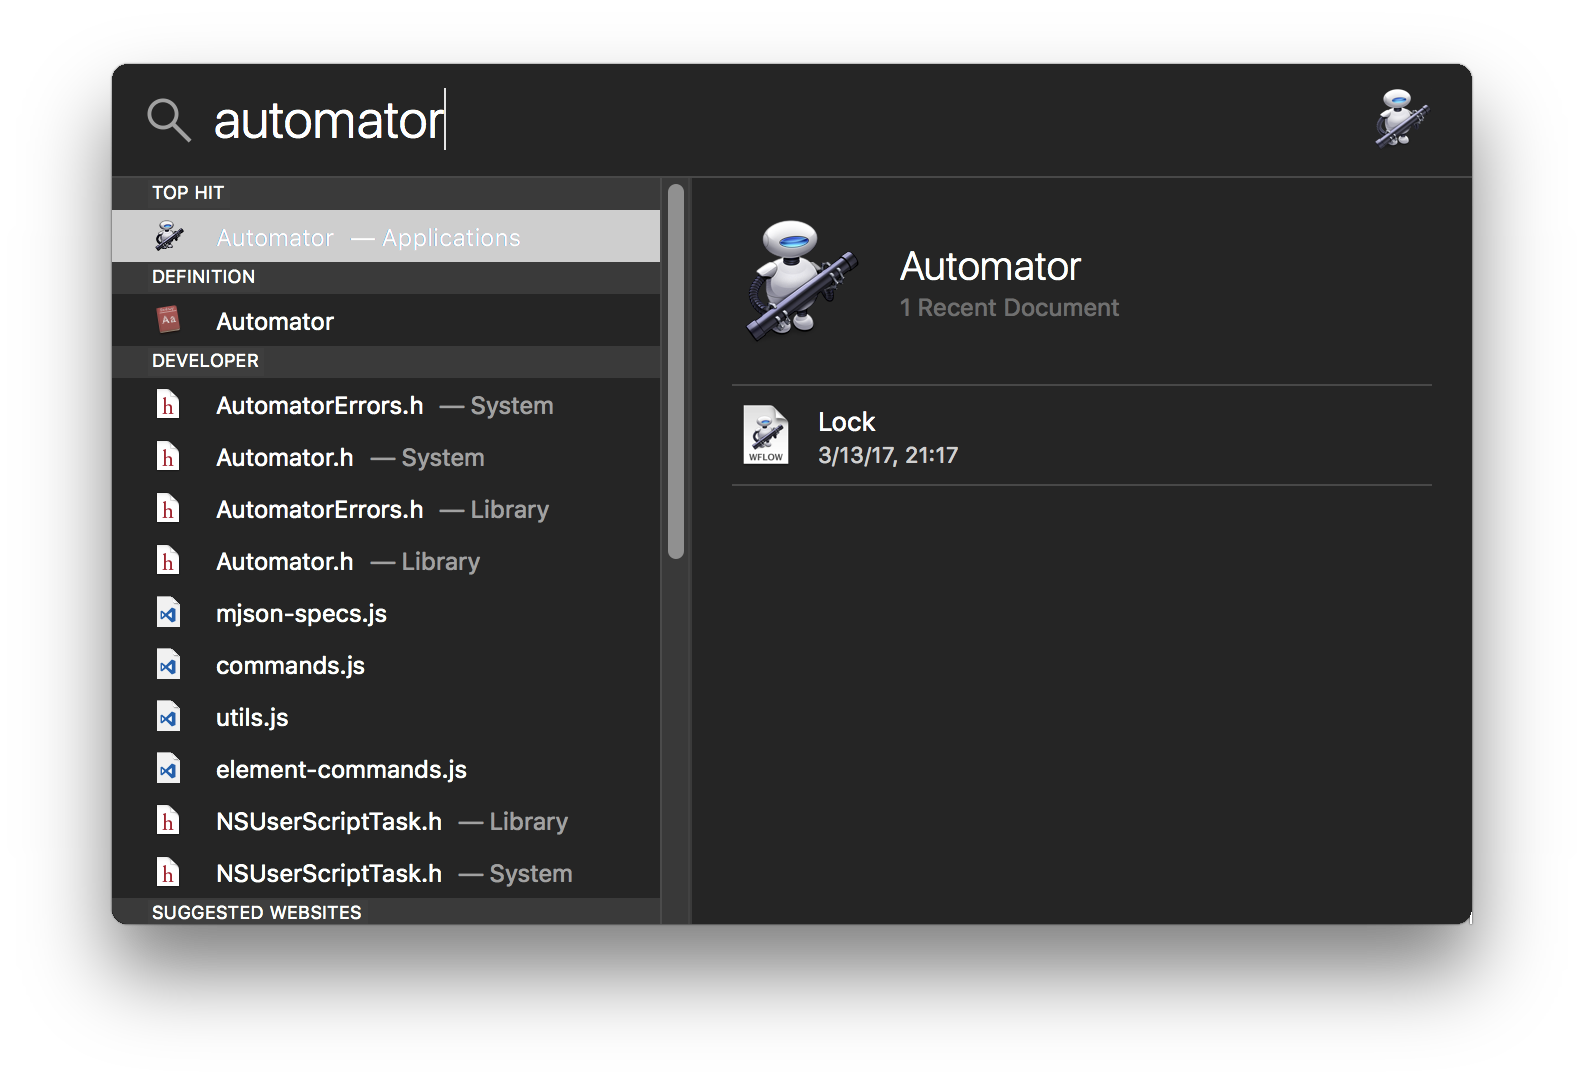
Launch the “Automator” app in Spotlight:
-
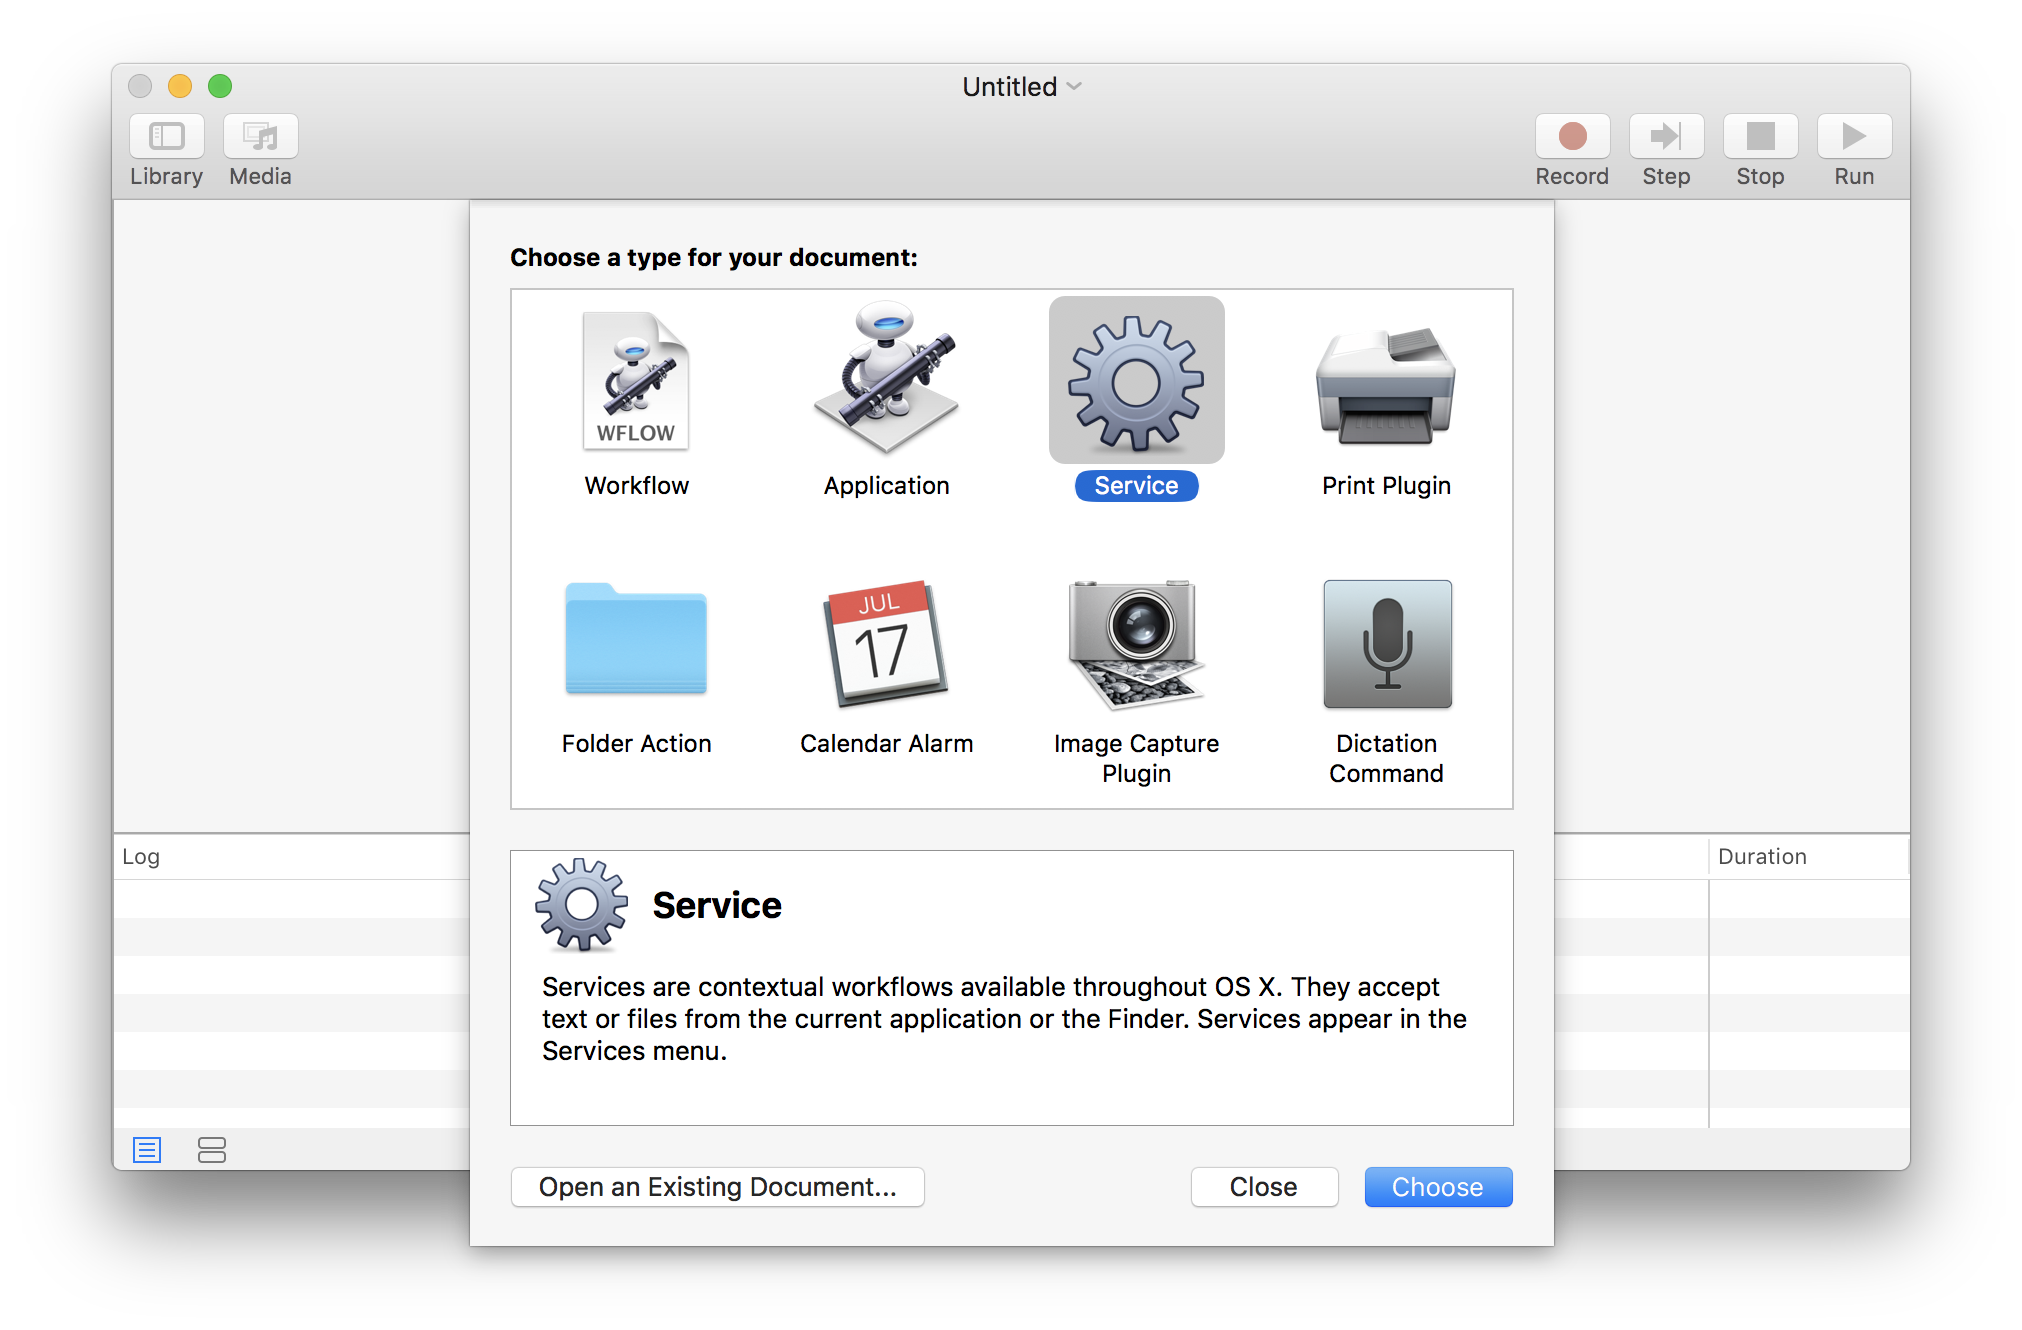
Once the application opens, create a new service:
-
With the “Library” button enabled, so the Actions are available, search for “Run Shell Script” and double click on the result:
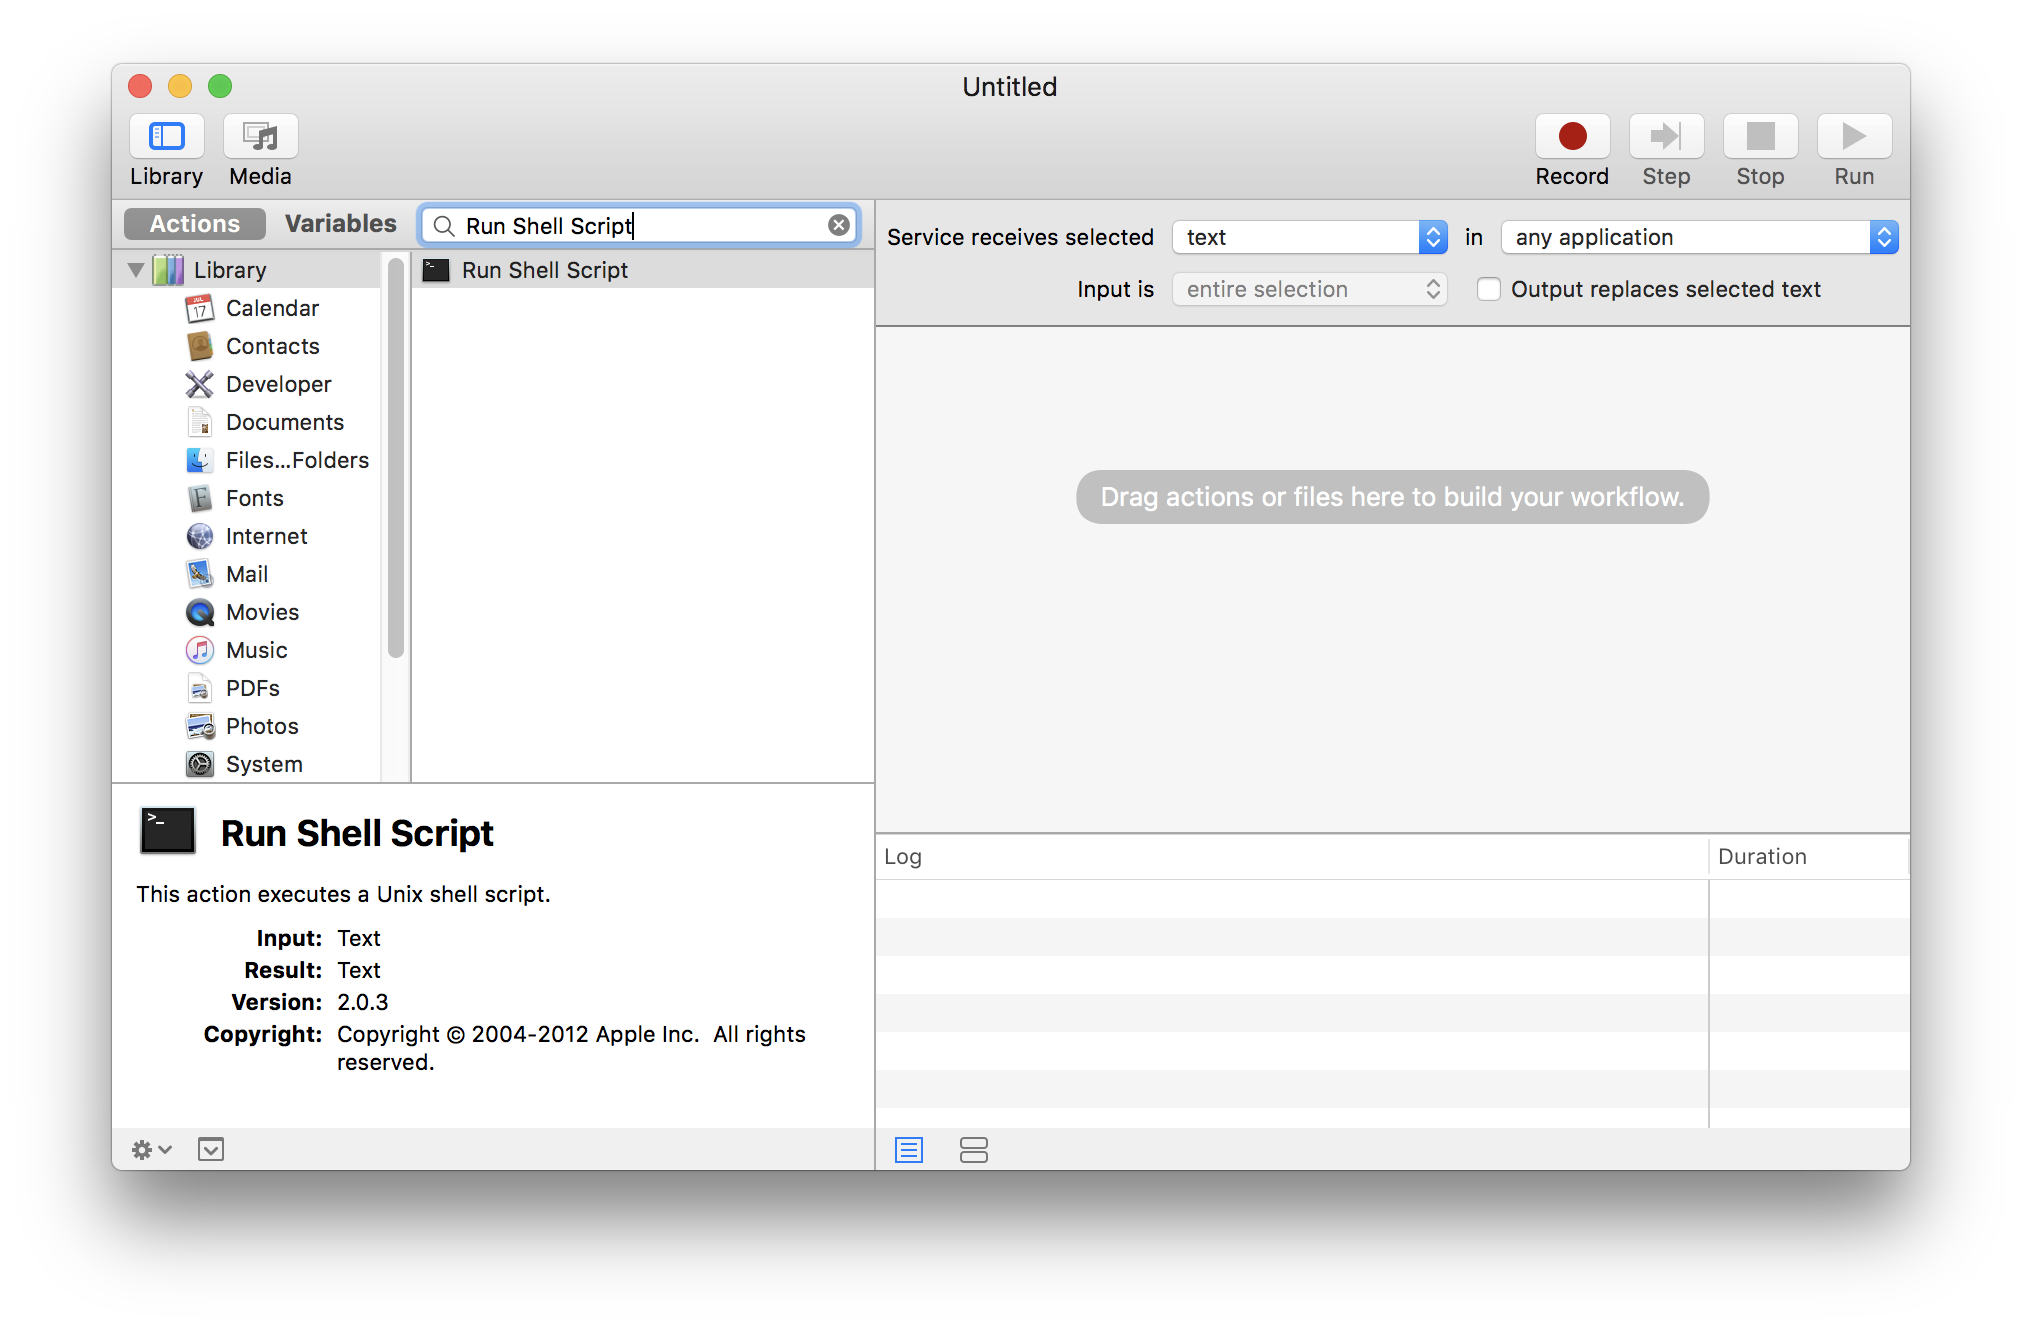
- Once the “Run Shell Script” Action has loaded in the main section ensure:
- The “Service receives selected” dropdown value is set to “no input”
- The “Shell” dropdown value is set to “/bin/sh”
-
The value of the script is set to the location of the
lockfile$HOME/.dotfiles/bin/lock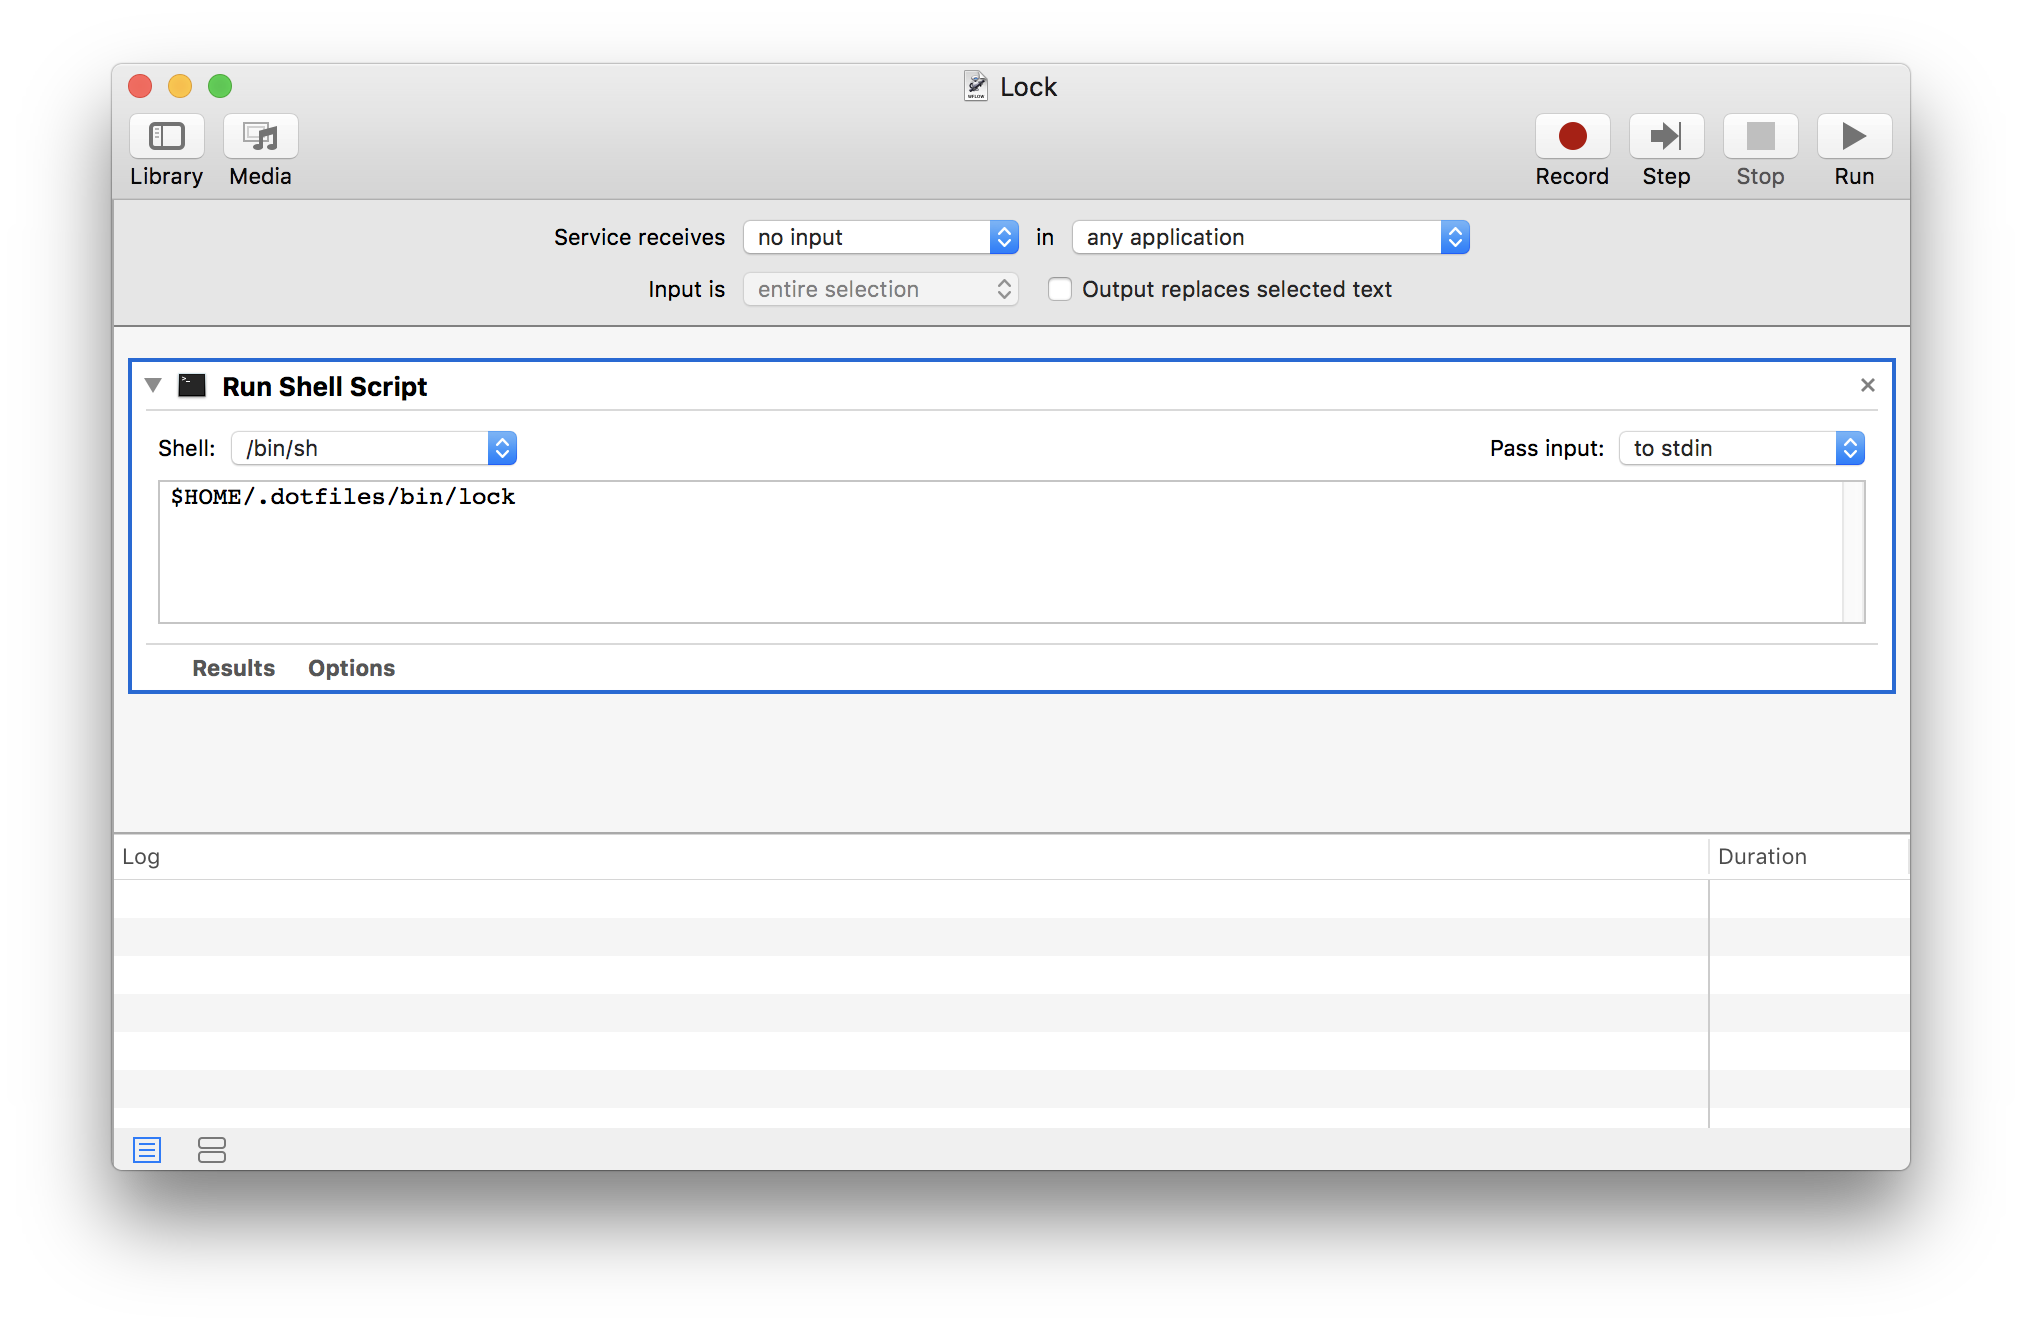
- Click the “Run” button to test the new service. Assuming your volume is turned up, you should hear a camera shutter followed by the loading of the screensaver
- Save the service by hitting
Cmd+S, entering “Lock” as the name of the file -
Open the main Automator menu, then expand the “Service” section to verify the new Lock service has been added:
NOTE: If the menu item isn’t showing up, you might need to restart your machine.

-
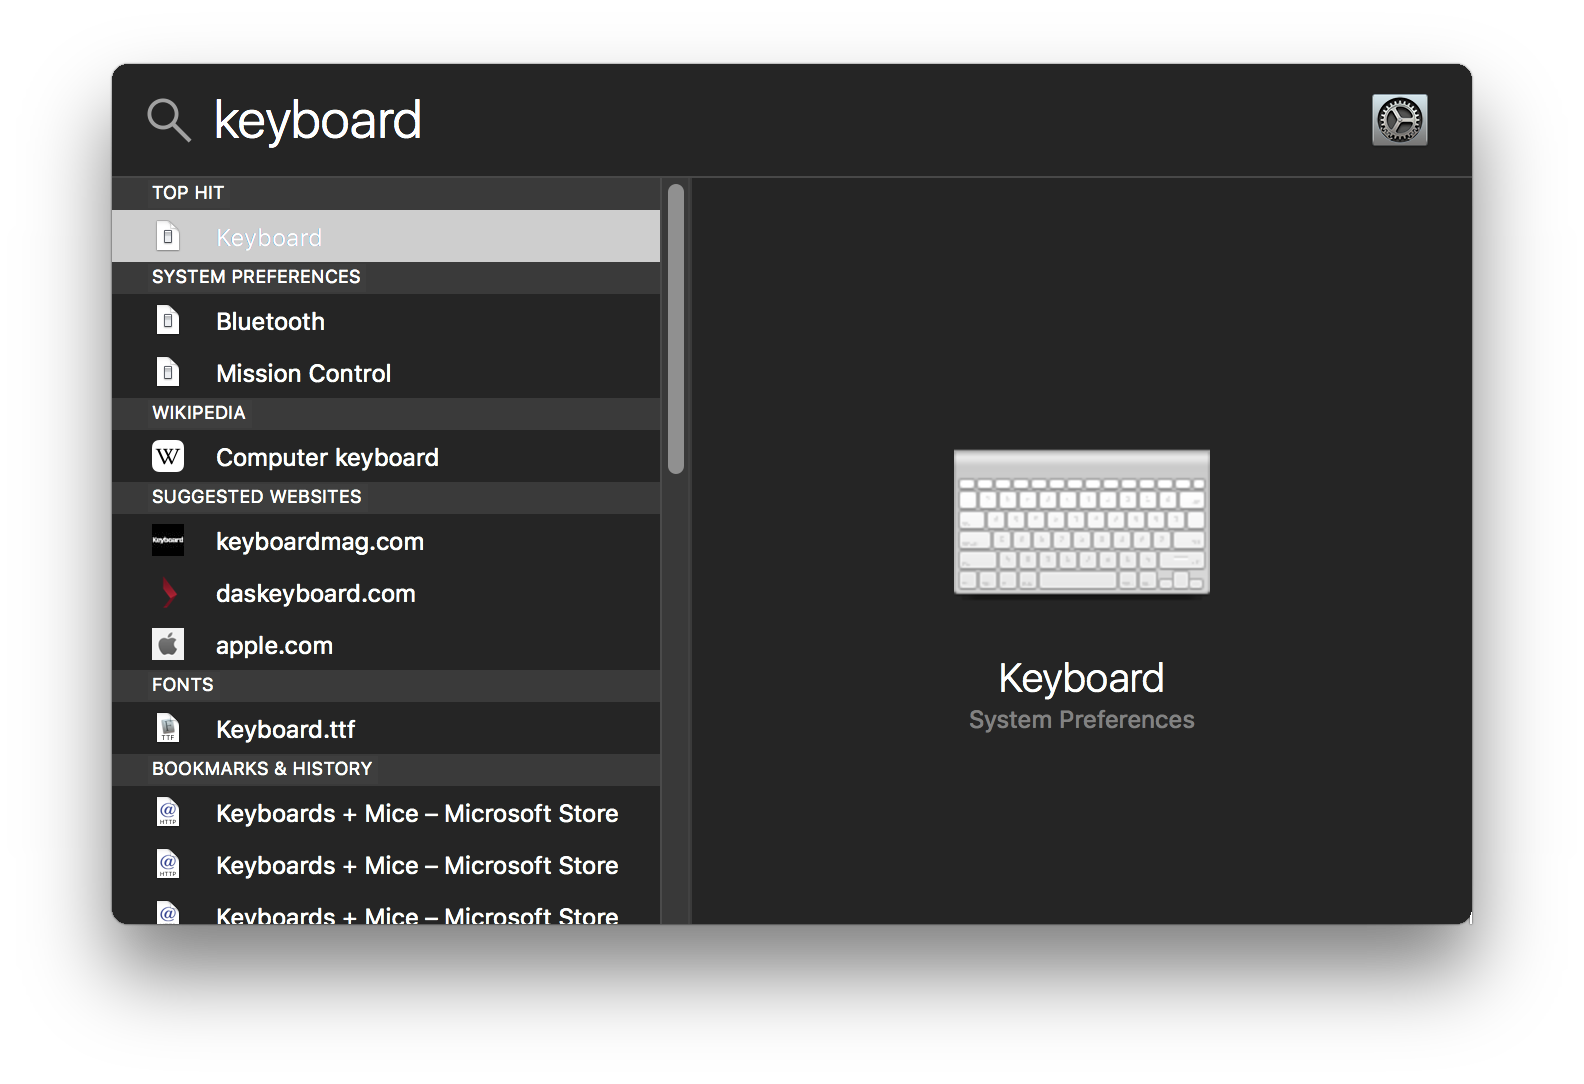
Launch the “Keyboard” System Preferences in Spotlight:
-
Select the “Shortcuts” tab, and the “Services” menu item. Scroll to the “General” section and add a Shortcut for the Lock service. In this case
Cmd+Ctrl+L: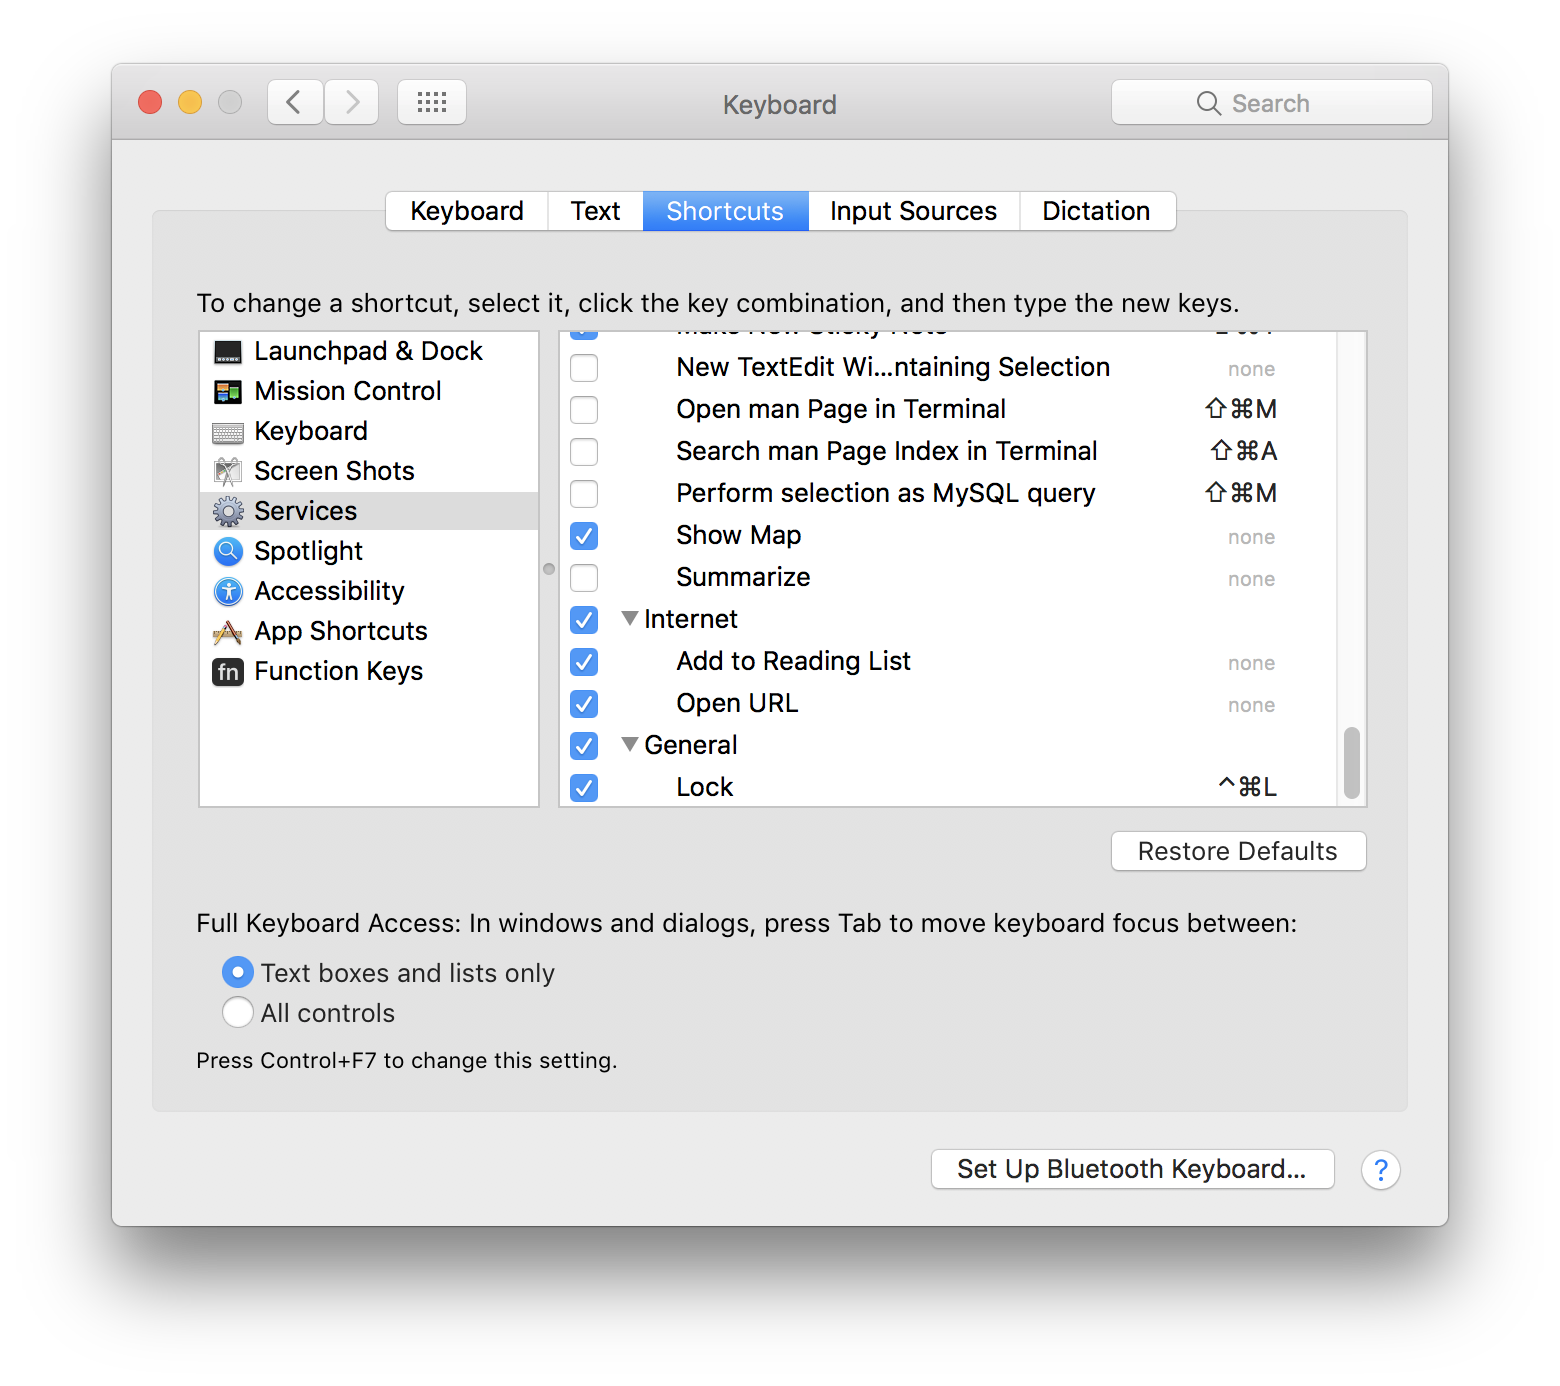
-
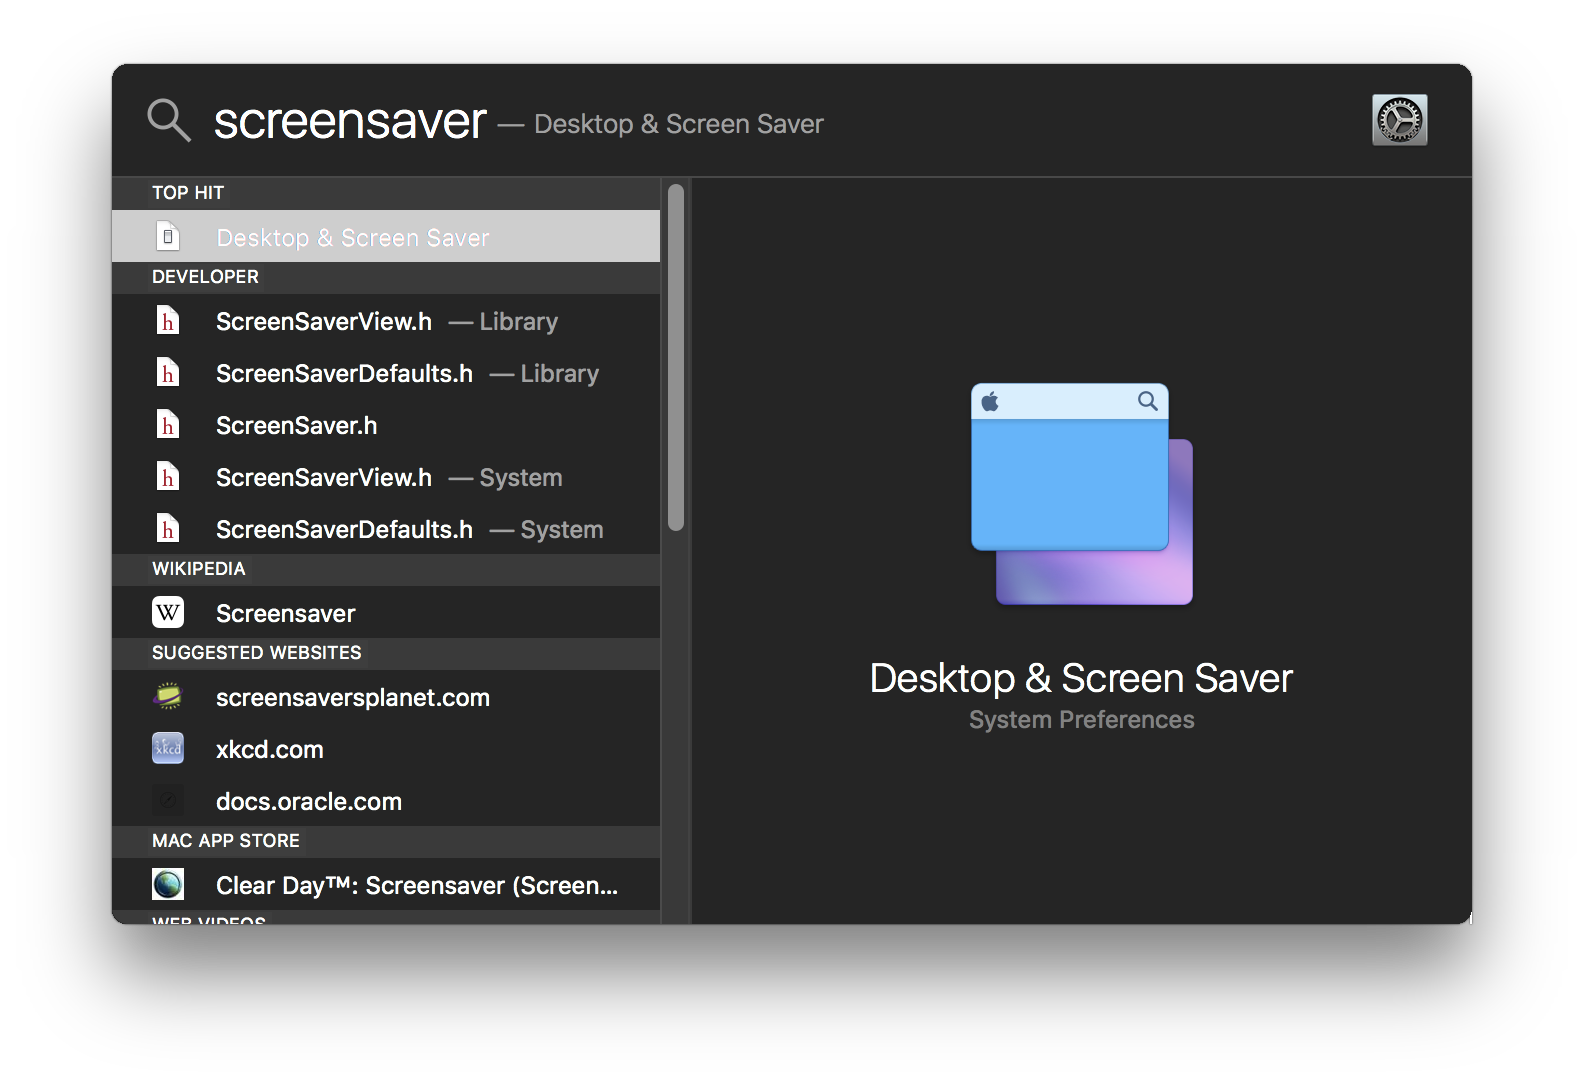
Launch the “Desktop & Screen Saver” System Preferences in Spotlight:
-
Click on the “Screen Saver” tab, scroll down and select the “Classic” screensaver:
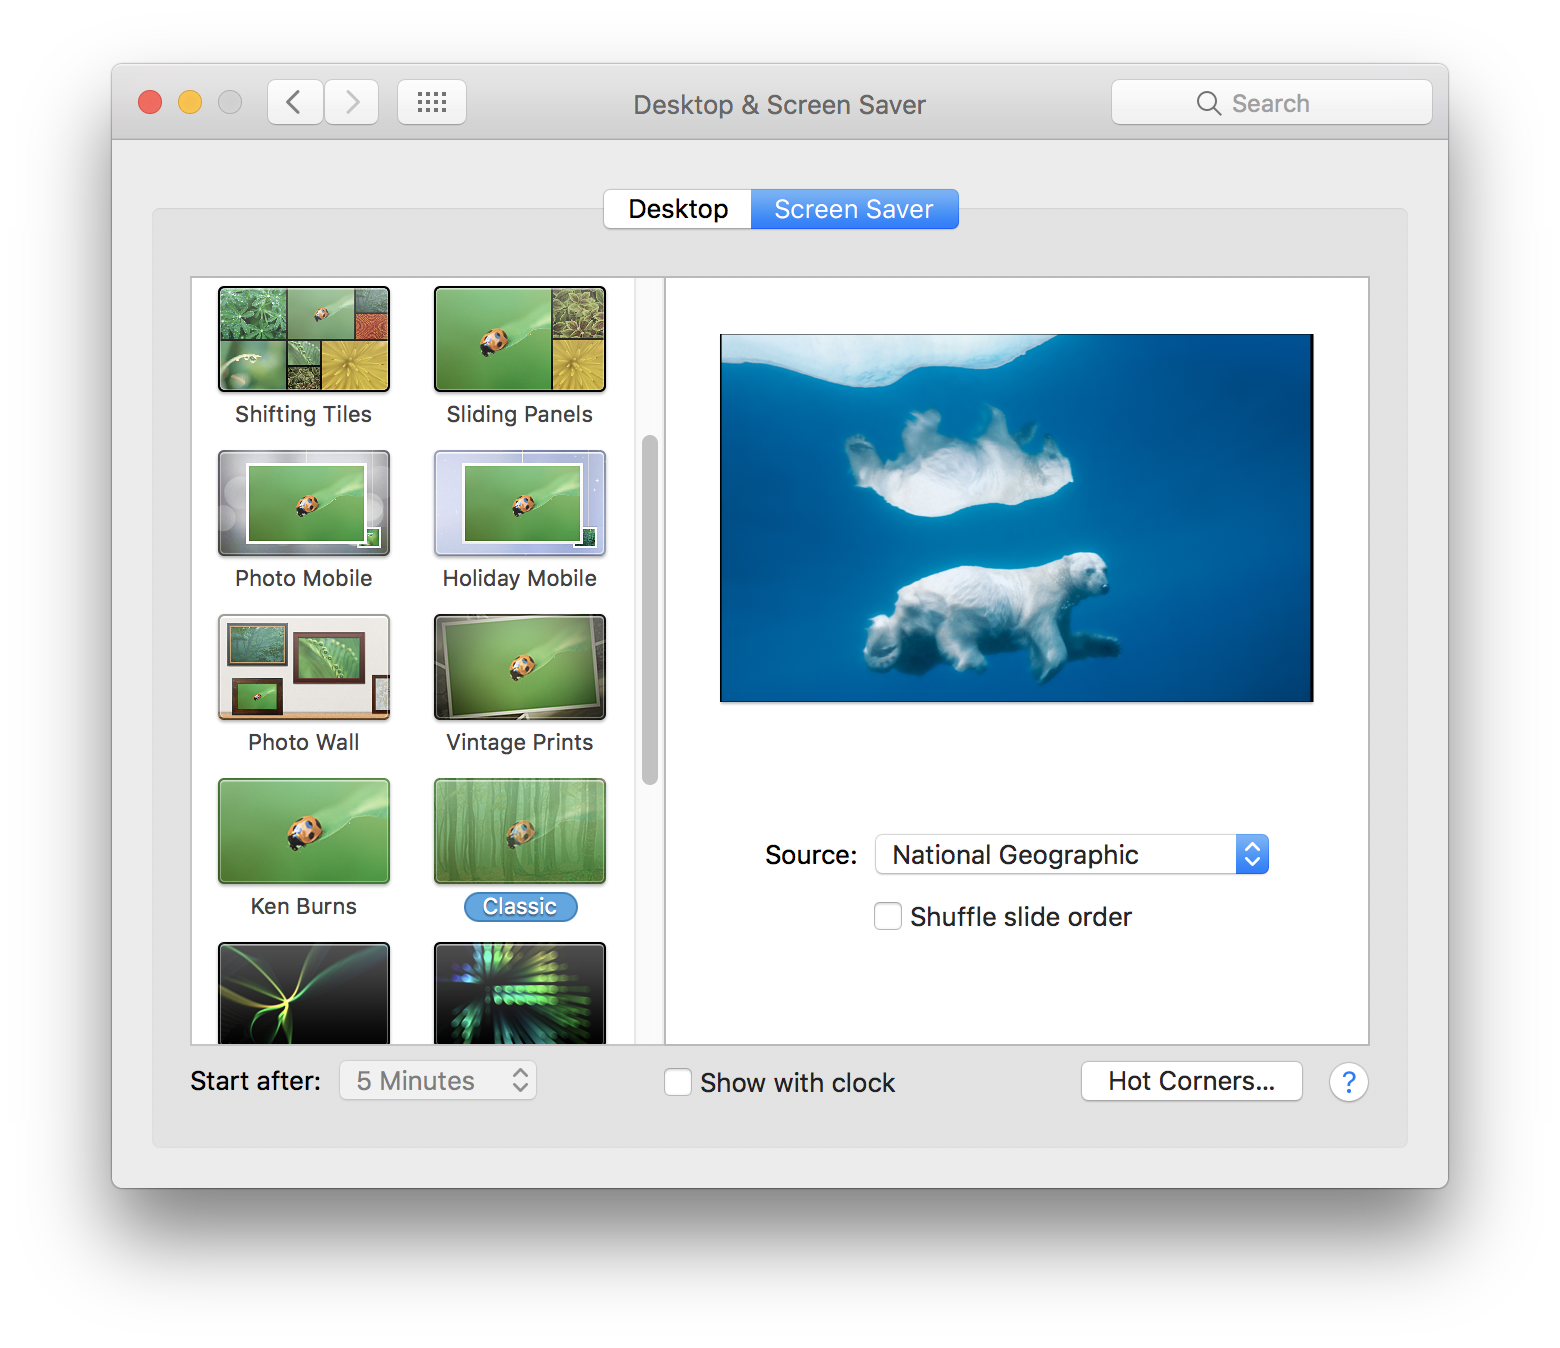
- Open the “Source” dropdown, select the “Choose Folder…” option, navigate to and select the
$HOME/Pictures/Lockscreenfolder - Test that everything works by hitting the
Cmd+Ctrl+Lkey combination.
Donate
If you would like to donate, you can use the following addresses:
Bitcoin
1Fvav7ATZvuAZ2Xv8JU9jAUmeV8MCLSCUF
Ethereum
0x9a6B7DF0c5EDAE69408A79428B8e7Fa8A318AD60
Litecoin
LQ5RaA6nafJtQKkmu3gZKketJ9voBCYz7t